


Picture this: you’re cruising down a scenic road, wind in your hair, playlist on point, when—thump, thump, thump—your car or bike starts wobbling. You
Picture this: you’re cruising down a scenic road, wind in your hair, playlist on point, when—thump, thump, thump—your car or bike starts wobbling. You pull over, and there it is: a flat tire. Panic sets in. What now? Whether you’re a beginner cyclist, a road trip enthusiast, or just someone who loves being self-reliant, knowing how to fix a flat tire is a game-changer. It’s not just a skill—it’s your ticket to staying calm, saving money, and getting back on the road fast.
In this flat tire guide, we’ll break down how to fix a flat tire in five straightforward steps. No mechanic required, no stress involved. With a little prep and the right tools, you’ll be ready to tackle this like a pro, whether it’s a bike tire fix or an emergency car repair. Let’s roll up our sleeves and dive into this DIY auto repair adventure!
Step 1: Stay Safe and Assess the Situation
Before you dive into tire repair steps, safety comes first. A flat tire can happen anywhere—on a busy highway, a quiet trail, or your driveway. Wherever you are, follow these flat tire safety tips:
- Pull over safely: For cars, find a flat, stable spot away from traffic. Turn on your hazard lights and set up reflective triangles or flares if you have them. For bikes, move off the trail or road.
- Check the damage: Is the tire completely flat, or just low? Look for obvious causes like a nail or tear. For example, Sarah, a college student commuting by bike, once found a shard of glass stuck in her tire. Knowing the cause can help you decide if a patch or a full spare tire use is needed.
- Gather your tools: For a car, you’ll need a spare tire, jack, lug wrench, and maybe a wheel chock. For a bike, grab a tire lever, patch kit, and pump. Don’t have these? Pro tip: keep a compact tire tools kit in your trunk or backpack.
Fun fact: According to the AAA, over 30% of drivers experience a flat tire at least once every five years. Being prepared can save you from being stranded or calling roadside assistance.
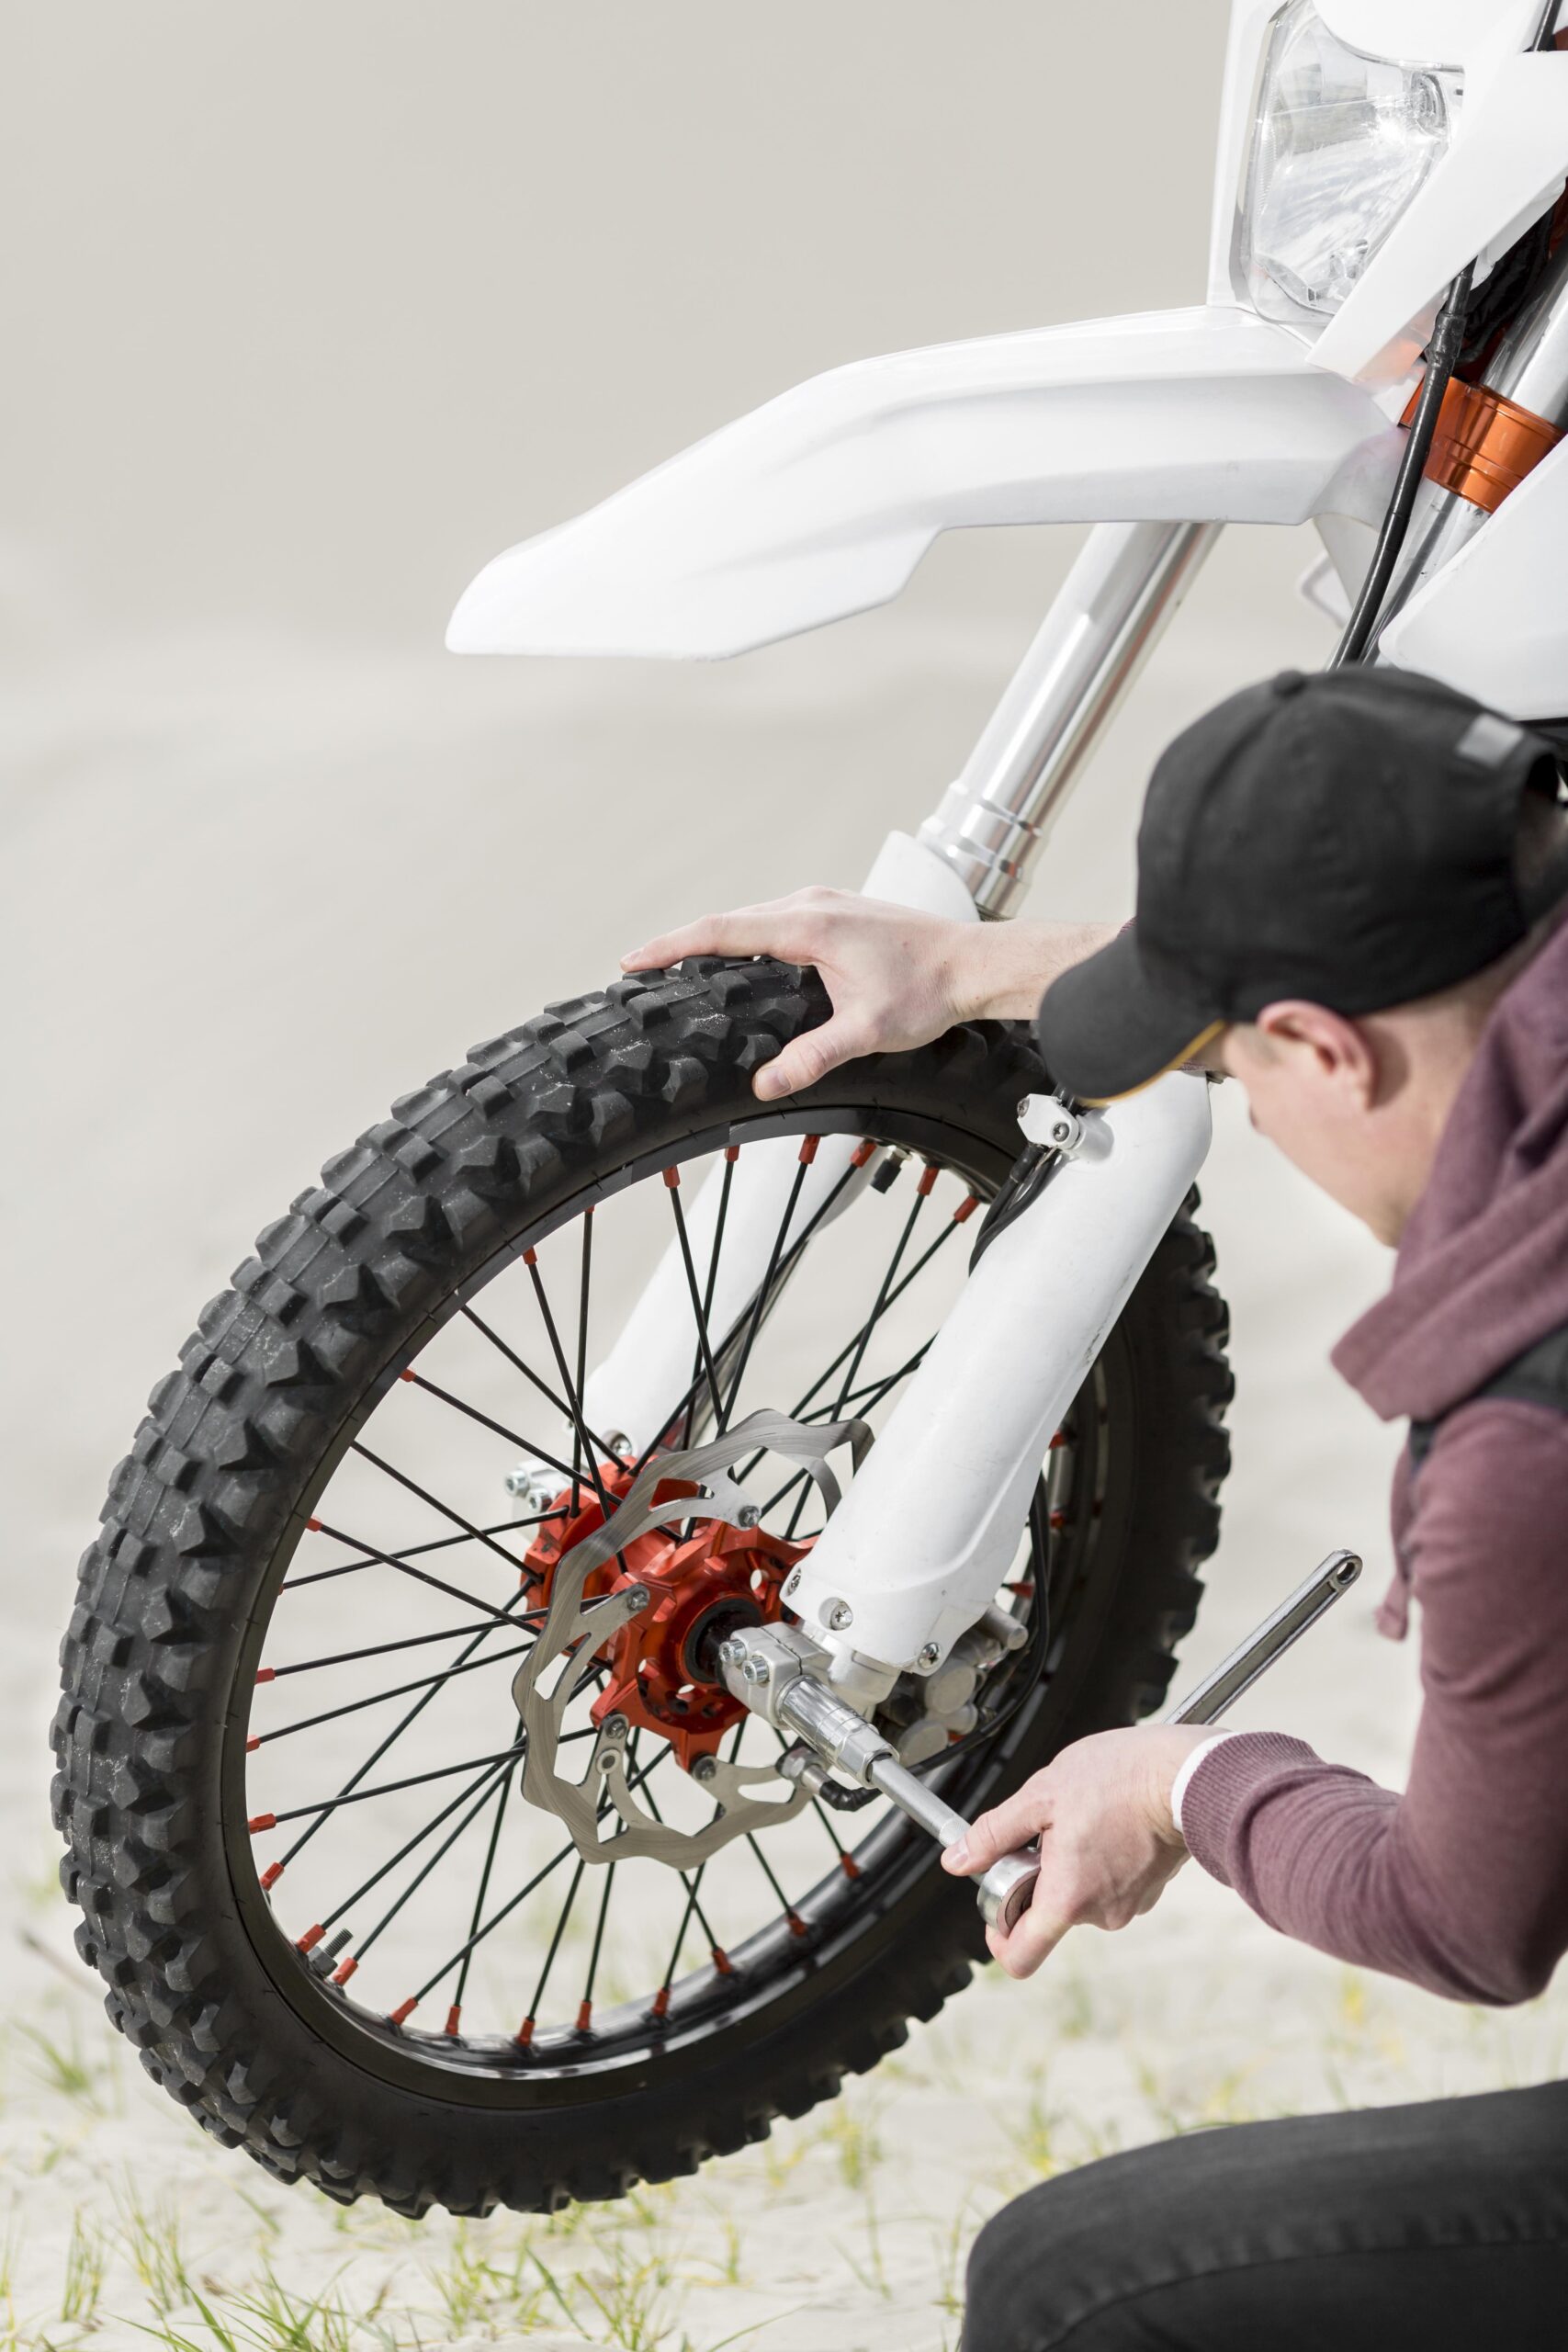
Step 2: Remove the Wheel Like a Pro
Now that you’re safe, it’s time to get that flat tire off. This step varies slightly depending on whether you’re dealing with a car or a bike, but the goal is the same: free the wheel for repair or replacement.
- For cars: Loosen the lug nuts with a lug wrench (but don’t remove them yet). Use the jack to lift the car off the ground—place it under the frame near the flat tire. Once the tire is off the ground, finish unscrewing the lug nuts and pull the wheel off. Keep the nuts in a safe spot (like your pocket) so they don’t roll away!
- For bikes: Flip your bike upside down or use a stand. If it’s a quick-release wheel, open the lever and remove the wheel. For bolted wheels, use a wrench to loosen the nuts. For example, Jake, a weekend cyclist, learned the hard way to check if his bike had a quick-release before heading out without tools.
This step is where you start feeling like a DIY auto repair hero. It’s empowering to know you don’t need a tow truck or bike shop to keep going.
Step 3: Patch or Replace the Tire
Here’s where the magic happens: fixing the actual flat tire. For bikes, you’ll likely patch the inner tube. For cars, you’ll swap in a spare tire or use a temporary patch kit in a pinch.
- Bike tire fix: Remove the tire from the rim using tire levers. Pull out the inner tube and inflate it slightly to find the puncture (listen for a hiss or dip it in water to spot bubbles). Patch the hole with a tire patch kit, following the instructions—usually, you sand the area, apply glue, and press on the patch. Reassemble the tire and rim, making sure the tube isn’t pinched.
- Car tire repair: If you’re using a spare tire, align it with the wheel studs and hand-tighten the lug nuts. Lower the car with the jack, then fully tighten the nuts in a star pattern. If you’re using a temporary patch kit (common in emergency car repair kits), follow the kit’s instructions to seal the puncture. These kits are great for small holes but aren’t a long-term fix.
Pro tip: Always check your spare tire’s air pressure before a road trip. A survey by the National Highway Traffic Safety Administration found that 20% of spare tires are underinflated, which can make your simple tire fix less effective.
Step 4: Inflate and Test Your Work
You’re almost there! Now it’s time to get that tire ready to roll with proper inflating tires techniques.
- For bikes: Use a hand pump or CO2 inflator to fill the tube to the recommended PSI (check the tire’s sidewall for the range, usually 40-80 PSI for road bikes). Spin the wheel to ensure it’s seated properly and there’s no wobble.
- For cars: If you used a spare tire, check its pressure with a gauge (most spares need 60 PSI, but check your car manual). If you patched the tire, inflate it to the recommended pressure (usually 30-35 PSI for passenger cars). Drive slowly and test for leaks or vibrations.
Imagine you’re Maria, a parent on a family road trip. After fixing a flat tire on her SUV, she double-checked the pressure and avoided a second breakdown. That’s the peace of mind you get from doing it right.
Step 5: Clean Up and Plan Ahead
You did it! The flat tire is fixed, and you’re ready to hit the road. But before you zoom off, take a moment to wrap up properly.
- Pack up: Store your tire tools, jack, and any trash (like patch kit wrappers) neatly. If you used a spare tire, plan to replace it or repair the original tire soon—spares are only meant for short distances (usually 50-70 miles).
- Inspect your work: Give the tire a final look to ensure it’s secure. For bikes, check that the wheel spins freely. For cars, take a short test drive to confirm stability.
- Learn for next time: Reflect on what worked and what didn’t. Maybe invest in a better pump or a tire changing tips guide for your glovebox.
Stat alert: The Bicycle Safety Institute reports that 70% of bike flats are preventable with regular car maintenance or bike tire checks. Stay proactive to avoid future headaches.
Conclusion: Be Your Own Roadside Hero
Fixing a flat tire doesn’t have to be a nightmare. With these five tire repair steps—stay safe, remove the wheel, patch or replace, inflate, and clean up—you’re equipped to handle a flat tire like a seasoned pro. Whether you’re a commuter, a parent, or an outdoor adventurer, mastering this DIY auto repair skill boosts your confidence and keeps you moving.
So, next time you hear that dreaded thump, don’t sweat it. Grab your tire tools, follow this flat tire guide, and take control. Better yet, share this simple tire fix know-how with a friend or family member—who knows, you might inspire the next roadside hero! Got a flat tire story or a tire changing tip to share? Drop it in the comments below, and let’s keep the conversation rolling.
COMMENTS